


Amidst the hustle and bustle of your dental practice, an efficient means of sterilizing instruments and making sure they’re ready for their next use can make a massive difference from an efficiency perspective.
That’s why self-seal sterilization pouches are such a powerful tool in your arsenal. They keep you organized, productive, and most importantly, hygienic! However, you need to know how to use sterilization pouches to make the most of them.
We’ll walk you through the process below, from picking the right dental sterilization pouches sizes to loading them, running them through the autoclave, and post-sterilization handling.
But, the first step in learning how to use self-sealing sterilization pouches is sourcing them from a trusted supplier. Your search ends here at My DDS Supply. Stock up on the premier selection of dental self-seal sterilization pouches today!
Overview of Self-Seal Sterilization Pouches
We don’t have to remind you just how important infection control and general hygeine is in the dental practice. Sterilization pouches help you streamline your sterilization process, and they keep your instruments sterile after the initial process as well. This means your tools are ready to go when you need them.
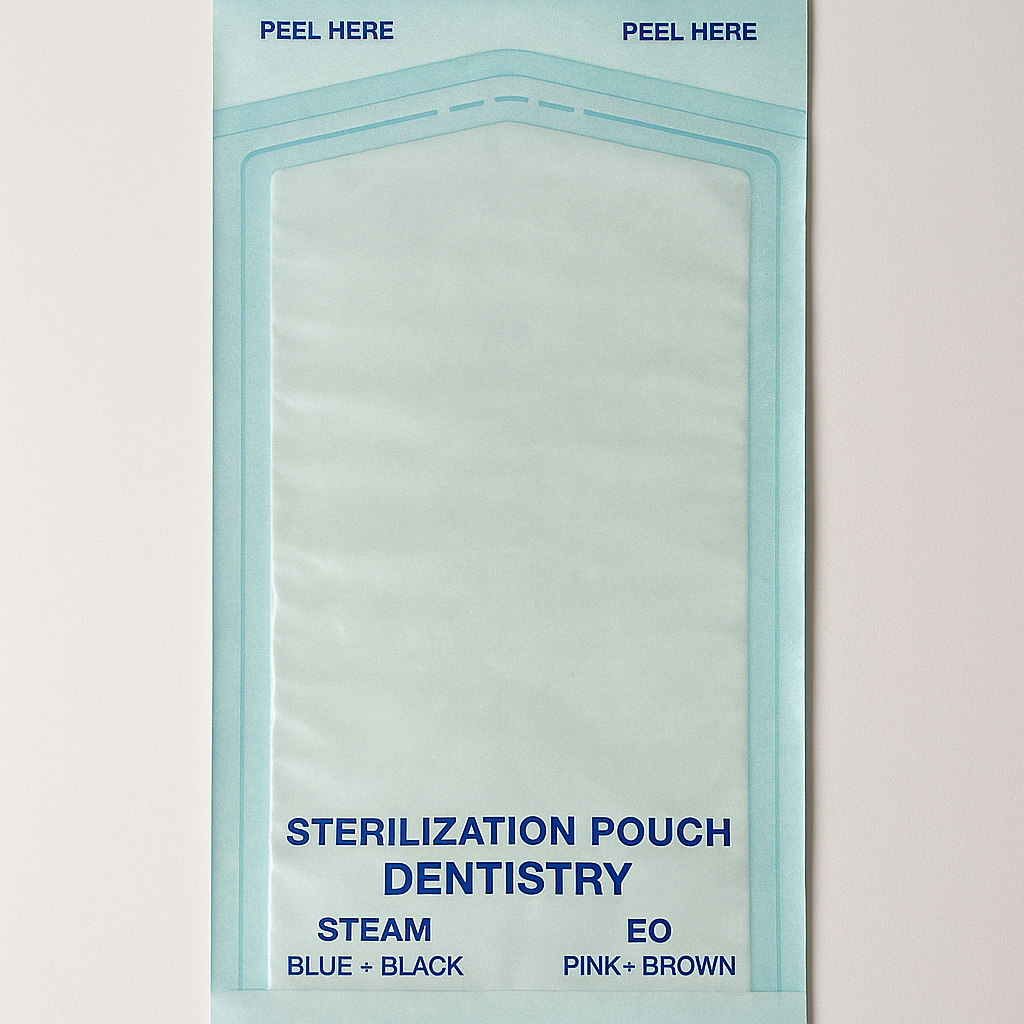
They’re typically made from a combination of medical-grade paper and transparent plastic film. This dual-layer design allows you to quickly see the contents of the pouch while offering the durability necessary to withstand the sterilization process.
However, self-sealing sterilization pouches in particular are a game-changer for modern dental practices because they save you a ton of time. The built-in adhesive strip allows you to quickly secure the pouch without the need for heat-sealing equipment.
Many of these pouches are even equipped with external and internal indicators that change color when the correct sterilization conditions have been met, so there is no guesswork about when your tools are sterile.
You can find pouches compatible with any sterilization method you use, including steam autoclaving, ethylene oxide, and chemical vapor.
There’s no question you need these as part of your sterilization process. The only question now is how to use self-sealing sterilization pouches. We’ll walk you through the process below.
How to Use Sterilization Pouches
Actually understanding how to use sterilization pouches is essential. The last thing you want is to accidentally expose your tools to contaminants at any point in the process. Follow these steps carefully to maintain sterility in your practice and enjoy peace of mind.
Choosing the Right Pouches
Sourcing your pouches from a reputable supplier is the first step, as not all manufacturers uphold the same standards for materials and craftsmanship.
You need to make sure you’re getting sterilization pouches that are compatible with your sterilization method of choice, too - whether it’s steam autoclaving, ethylene oxide, or chemical vapor.
Of course, make sure you have a variety of sizes on hand for all the different types of instruments you need to sterilize. You don’t want the tools crowded as this could affect the integrity of your sterilization process.
Look for pouches with internal and external sterilization indicators, which provide visual confirmation that sterilization conditions have been met. This takes a lot of the guesswork out of the equation and makes it far easier to tell when your instruments are actually sterilized.
Gathering and Preparing Instruments
Instruments should be free of any debris, organic matter, or residues that could compromise the sterilization process before you load them in the pouch. Cleaning typically involves manual or ultrasonic cleaning followed by rinsing and drying.
After cleaning, inspect the instruments for any damage or wear. Only instruments that are in good condition should be sterilized and reused. Replace any tools that are past their prime.
Loading Instruments into the Pouch
Make sure you are arranging instruments such that steam, gas, or vapor can circulate freely around each item when loading up your pouches. As we said above, you don’t want to overcrowd the pouch.
If the instruments are hinged, like scissors or forceps, keep them in an open position to allow thorough sterilization. The pouch should be sealed with enough space left for air to circulate inside.
Sealing the Pouch
Speaking of sealing the pouch, this is one of the most important steps in how to use sterilization pouches. The last thing you want is for your instruments to get exposed to contaminants because the pouch wasn’t properly sealed.
Fortunately, self-seal pouches all but eliminate this concern. They’re easy to use, too. Simply fold the adhesive strip over and press down firmly to create a secure seal, ensuring there are no gaps or air pockets.
If you must use a heat-sealed pouch, follow the manufacturer’s instructions to create a consistent seal along the edge. Don’t overlook the importance of this step, it can make or break the entire sterilization process!
Labeling and Record-Keeping
Label each pouch with the date of sterilization, the batch number, and the contents. Accurate record-keeping helps you track sterilization cycles so instruments are used within their sterile shelf life. This is also a matter of compliance with quality control and regulatory standards.
Loading the Sterilizer
Now comes the fun part, getting ready to actually sterilize your instruments. Place the pouches inside the sterilizer with the paper side facing up and the plastic side facing down. This allows steam or gas to penetrate the pouch effectively while ensuring the sterilization indicators are visible for monitoring.
It’s also important to arrange the pouches in a single layer without overlapping to maximize exposure to the sterilizing agent. If multiple layers are necessary, use racks or trays that allow for proper circulation.
Choosing the Appropriate Sterilization Cycle
Select the sterilization cycle that matches the type of instruments and pouches being used. The cycle should be appropriate for the material of the instruments, the type of pouch, and the sterilization method.
For example, steam autoclaves require a cycle that reaches a specific temperature and pressure for a set duration to ensure effective sterilization. Refer to the manufacturer’s guidelines for recommended cycles based on the instruments and pouches.
Post-Sterilization Handling
Give the pouches time to cool before handling them once the sterilization cycle is complete. Inspect each pouch for proper seal integrity and check the sterilization indicators to confirm that the cycle was successful.
Then, store the sterilized pouches in a clean, dry environment away from contaminants. Proper storage ensures that the instruments remain sterile until they are ready for use.
Avoid handling the pouches excessively to prevent compromising the seal or introducing contaminants. If you must move them, make sure you’re wearing dental gloves - such as our dental nitrile gloves or powder-free latex gloves.
Discover the Best Selection of Self-Sealing Sterilization Pouches for Your Practice Today!
There you have it - how to use self-sealing sterilization pouches! You can learn more about specific sterilization processes in our blog, like how to sterilize dental burs or how to clean dental trays.
Otherwise, it’s time you stocked up on all the different self-sealing sterilization pouches you need in your practice right here at My DDS Supply.
We’re proud to be known as the #1 provider of all the essential tools and supplies in the world of dentistry, delivering top-quality products at an affordable price with exceptional customer service every step of the way. What more could you ask for?
You can sort your search by a wide variety of sizes, from as small as 2.25” x 2.25” to as large as 12” x 19”. Each is made from quality materials that won’t tear or breach, so you can rest assured your instruments remain sterile until they’re ready to be used.
They’re the most convenient approach to sterilization dental professionals have access to, and once you see them in action, we’re sure you’ll agree! While you’re at it, stock up on all the other supplies that keep your practice running smoothly - like:
- Dental alginate impression material
- Bite registration material
- Bite registration tray
- Temporary crown material
- Temporary dental cement
- VPS impression material
- Dental mixing tips
- Dental impression trays
- And more!
This is your factory-direct eBay store for all things dentistry. Transform the way you source your tools for the better today!
Parting Thoughts on How to Use Self-Sealing Sterilization Pouches
We hope this guide on how to use sterilization pouches has left you feeling clear and confident in harnessing these in your own practice. They’re the best way to maximize hygiene and ensure sterility of your instruments in an efficient manner.
You can learn more about the world of dentistry in our blog. We have articles on topics like how to mix alginate impression material, how strong is dental cement, what is alginate used for in dentistry, how to make dental impressions at home, what is dental alginate made of, how to make a temporary crown, how long does dental cement last, and a whole lot more.
At this point, though, it’s time to upgrade your sterilization process with the pouches we’ve got in store for you here at My DDS Supply. Enjoy peace of mind protecting the integrity of your tools and maintaining a sterile environment for your patients today!