


It goes without saying that hygiene is of the utmost importance in your dental practice. Keeping your facility, equipment, and instruments clean and sanitized can be the difference between favorable patient outcomes and a bad reputation that slowly but surely costs you.
Time is money, though. You and your staff need to be trained in the most productive methods for cleaning and disinfecting essential tools. Understanding how to clean saliva ejector efficiently is something every dental professional needs to be able to do.
So whether you’re just setting foot in this industry or looking for a refresher, follow along as we walk you through the best practices below. From ultrasonic cleaning methods to autoclave sterilization, you’ll feel confident in how to take care of saliva ejectors by the time you finish.
But be clear, many styles these days are meant to be used once and disposed of. This eliminates the stress and effort of cleaning altogether.
While it sounds wasteful, it’s actually more economical since you’re saving so much time. Plus, it promotes the most hygienic patient experience - that’s what matters most. Your search for the most affordable selection of high-quality dental saliva ejectors ends here at My DDS Supply!
The Role of Saliva Ejectors in Dentistry
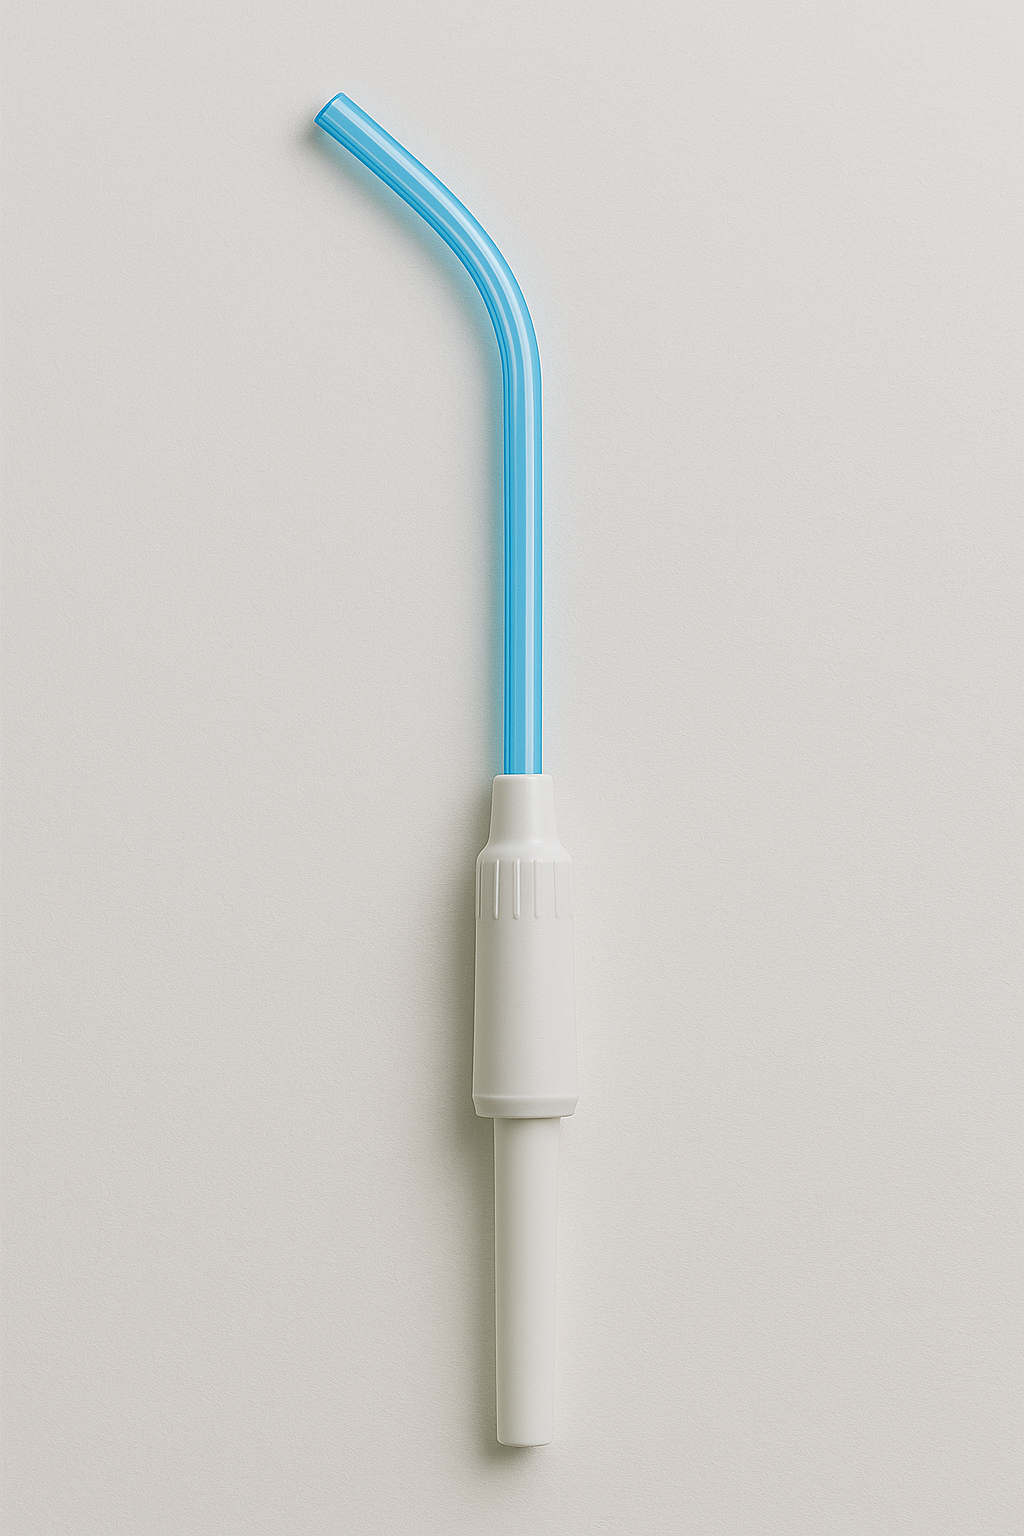
Your saliva ejector is an indispensable tool for keeping the oral cavity dry and easy to work on during a number of procedures - even during routine cleanings. They remove excess saliva, blood, and water using small, flexible tools.
The design facilitates ultra-precise placement so you can keep your patient comfortable while keeping your work area unobstructed. They’re a staple in any modern dental practice - and as with any tool you use, proper cleaning and disinfecting is of the utmost importance.
The Importance of Cleaning and Disinfecting Saliva Ejector
It’s no secret that infection control is a top priority in the dental field. You can imagine what a breeding ground saliva ejectors can become for bacteria - which isn’t just dangerous for patients, but practitioners as well.
Cross-contamination can occur if ejectors are not thoroughly decontaminated between uses, compromising safety and potentially violating hygiene standards. Your reputation is on the line, so this is not something you can afford to overlook.
Fortunately, many saliva ejectors these days are designed specifically to be used once and then disposed of - which eliminates these risks and concerns altogether!
A Word on Disposable Saliva Ejectors
While the idea of saving money by cleaning and reusing saliva ejectors is certainly tempting, it’s becoming less and less common - for good reason. It’s more practical to toss each saliva ejector after it has been used.
This not only saves you time and effort in your dental instrument care process, but it can lift quite a bit of stress from your shoulders. It’s more convenient and hygienic - it does come at a cost, though. That cost is an environmental one.
Practices that prioritize sustainability over productivity and profitability may continue to use reusable saliva ejectors, but will need to take extra precautions to keep patients safe. One of these is the use of barrier film.
Using Barrier Film to Minimize Contamination in the First Place
Dental barrier is a way to prevent contamination from occurring in the first place. It’s essentially a protective shield you place around the saliva ejector (or any other tool or piece of equipment for that matter) before putting the instrument to use.
This way, the saliva ejector doesn’t ever come into direct contact with saliva or other fluids. Not only will this save you time on cleaning but it also reduces the risk of pathogens from accumulating in the first place.
The use of barrier film is also great for lengthy procedures where there may be some level of concern surrounding infection control. We carry a wide selection of sizes and styles from trusted brands here at My DDS Supply. For now, though, let’s get into how to clean saliva ejector.
How Do You Clean a Saliva Ejector?
So, how do you clean a saliva ejector? We’ll walk you through the best practices below and share a few different methods you can employ. First, let’s get into how to disassemble the saliva ejector for cleaning.
Disassembling the Saliva Ejector
Thorough cleaning requires you to fully disassemble the tool into all of its individual components. This may include tubing, tips, and other detachable parts.
This ensures each piece is fully cleaned and sterilized, so you don’t have to stress about hidden crevices harboring bacteria and/or debris. It sets you up for success with the following steps for how to clean saliva ejector.
Rinsing and Removing Debris
Once you have the instrument fully disassembled you can start by rinsing each part under warm running water to remove any visible debris, saliva, or contaminants. This helps get the surface level residue out of the way for more effective disinfection.
Ultrasonic Cleaning
Now let’s get into how to clean saliva ejector through one of the most common approaches, ultrasonic cleaning. Place all disassembled parts into an ultrasonic cleaner filled with a dental-approved cleaning solution.
Then, you can let the ultrasonic cleaner handle the rest. It uses high-frequency sound waves to create microscopic bubbles that gently dislodge stubborn contaminants. This helps reach tight spaces and guarantees a deep clean without manual scrubbing.
Inspection for Cleanliness
After the ultrasonic cleaning is complete you can inspect all components to confirm they’re clean of any visible contaminants. Pay special attention to any small openings or joints that could trap gunk.
If needed you can repeat the process. But at this point, you’ll likely be ready for autoclave sterilization - where the real magic of disinfecting saliva ejectors comes into play.
Autoclave Sterilization
Now you can load all components into an autoclave for sterilization. This machine uses high-pressure steam to eliminate bacteria, viruses, and other pathogens for complete sterilization.
Always abide by the manufacturer’s recommendations for temperature and cycle duration. You should also make sure the parts are arranged such that steam can fully penetrate every nook and cranny.
Autoclaving will involve the use of self seal sterilization pouches to keep the individual pieces organized. More importantly, though, it protects the saliva ejector from being exposed to contamination after sterilization.
You can safely store the sterilization pouch containing the saliva ejector until it’s ready to be used. Speaking of which…
Reassembly and Storage
The last thing you want is to let contaminants make their way onto what you suspect is a clean saliva ejector, and inadvertently expose patients to pathogens. Proper reassembly and storage goes a long way here.
Give the components a chance to cool before reassembling the saliva ejector. Confirm all parts are securely attached and ready to be put to use when the time comes. Then, store the tool ina clean, dry, designated storage area to prevent recontamination.
Stock Up on Saliva Ejectors and Everything Else You Need at My DDS Supply!
There you have it, how to clean saliva ejector! But as we said from the start, this is a fairly dated practice that really doesn’t have a place in modern dentistry. It’s far more economical and safer to use disposable saliva ejectors, completely eliminating the need for cleaning.
My DDS Supply is your trusted choice for premium-grade disposable saliva ejectors for dentistry. They’re cost-effective and convenient with 10 bags of 1,000 each, and the packaging we use makes it even more convenient to store and access the instruments.
Plus, you can easily see what you’re working on since the white color of the saliva ejectors enhances visibility. We also have dental suction tips to work with these. They provide superior suction and durability, so arm yourself with the solution your practice needs today!
Final Words on How to Clean Saliva Ejector
That does it for our guide on how to clean saliva ejector. Those who employ reusable saliva ejectors need to be able to quickly and effectively eliminate any and all pathogens before incorporating back into a procedure. This may involve autoclaving or ultrasonic cleaning
However, disposables are the way to go these days. They’re far more economical in the long run but more importantly, they provide peace of mind knowing you’re protecting your patients from any concerning contaminants.
Our blog has additional resources on topics like saliva ejector or suction device, dental suctioning techniques, how to sterilize dental burs, how to use sterilization pouches, and more. But, the only thing left to do today is set yourself up for success in dentistry at My DDS Supply.
You’ve worked hard to get to where you are, why leave anything to chance? Source the top-tier tools and supplies you need to provide the highest level of care for your patients. Join thousands of dentists who only trust us to deliver high-quality essentials today!